As I mentioned in my last blog post I mentioned that we finally found 2 new bathroom light fixtures in December and it started our crazy bathroom reno projects. In true Trojacek project fashion, this one ended up taking WAY longer than anticipated with several bumps along the way but it turned out better than we had imagined! Shortly after we moved into the house we stained the bathroom cabinets with the Rustoleum Transformation kit. While we enjoyed the updated look...they didn't wear well. With the natural light in the bathroom you could see pretty much all of the imperfections. We had also been dreaming of taller vanities like we had in our old house. Once we ordered the light fixture we decided to go all in in our master bath renovation!
This project seemed to last forever though. We ordered the light fixture before Christmas and ended up getting it in MARCH after the arrival date kept getting pushed further back. The Pottery Barn mirrors we ordered (which also ended up WAY back ordered) didn't fit. We had to cut a hole in the back of the vanity for the plumbing (which we expected) and had to have a plumber come out and move some of the plumbing (which we did not expect). The faucets were TERRIBLE to install and we almost gave up but Justin was able to get them working with a different type of drain from Lowes. The flooring took longer than expected to install because they didn't order enough materials (seriously...this is the story of any of our home reno projects!). I tried sanding/painting our medicine cabinet and that turned out to be an epic FAIL (thank goodness for crafty friends). Once we finally got the light fixture installed we realized how YELLOW Edison bulbs look and hello - that is the whole essence of the light fixture and what we modeled this WHOLE reno around. Luckily Justin was able to find some brighter ones on Amazon (don't worry - we ordered the hospital bright ones first and had to return those to get normal ones). HOWEVER, we pushed through and corrected all the issues and were left with our dream master bath!
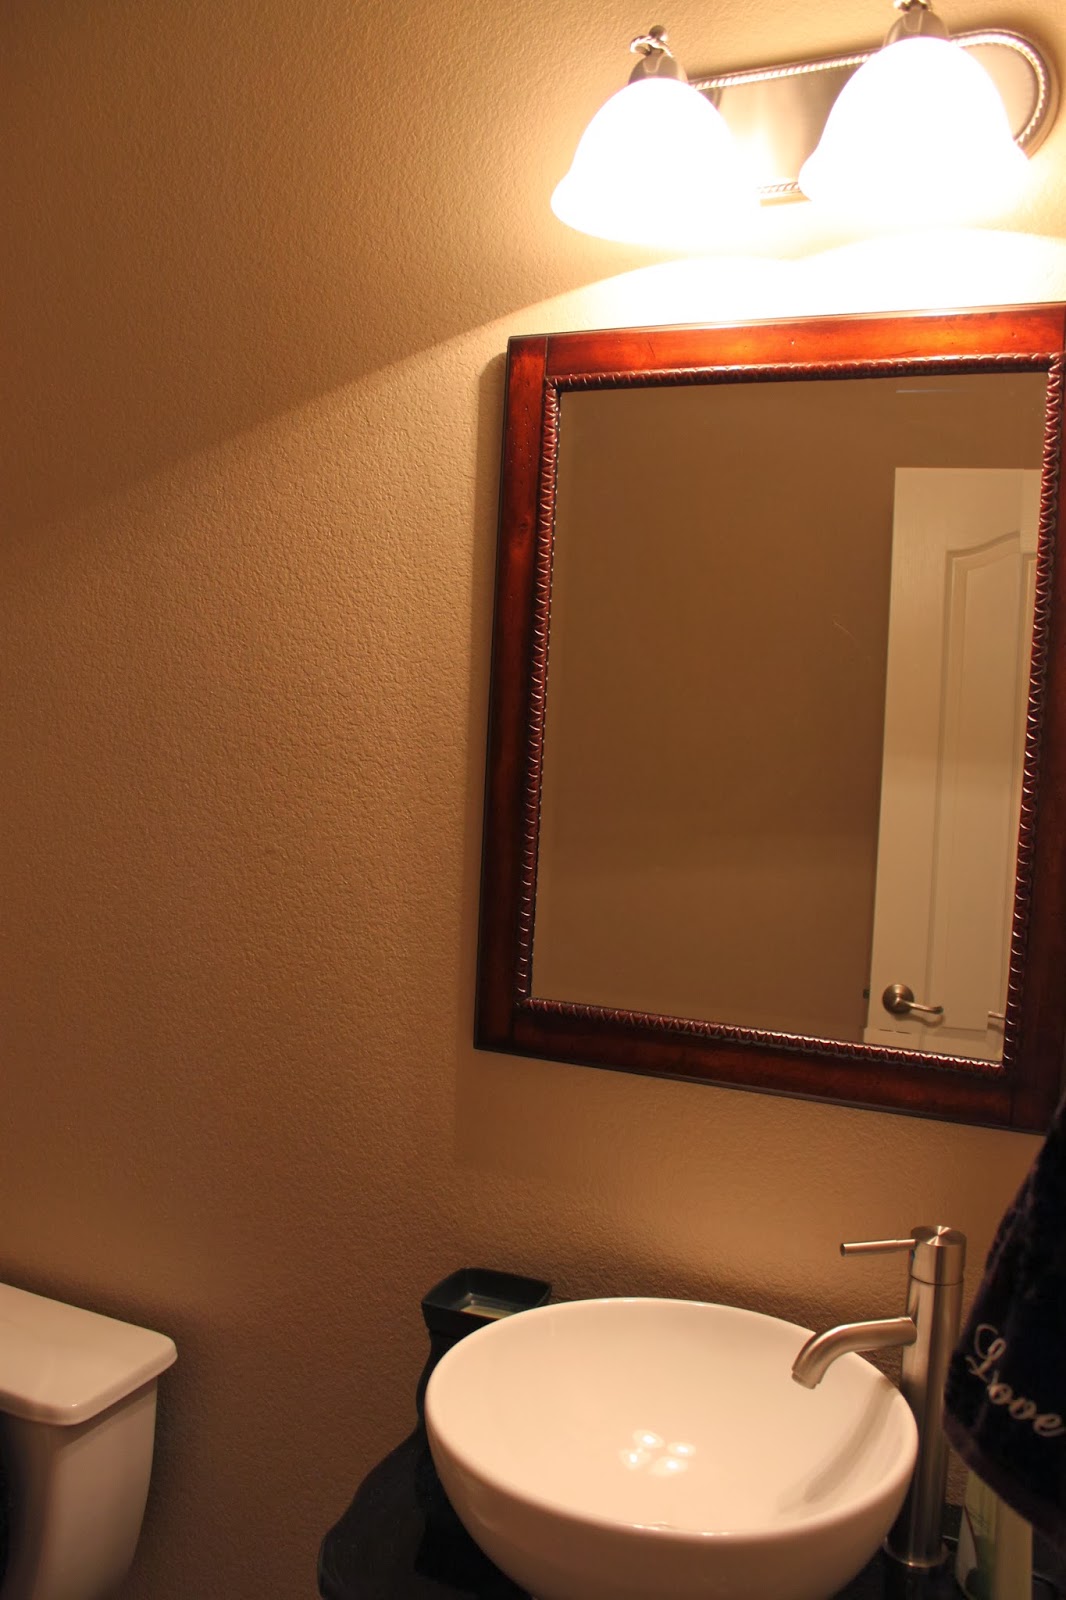
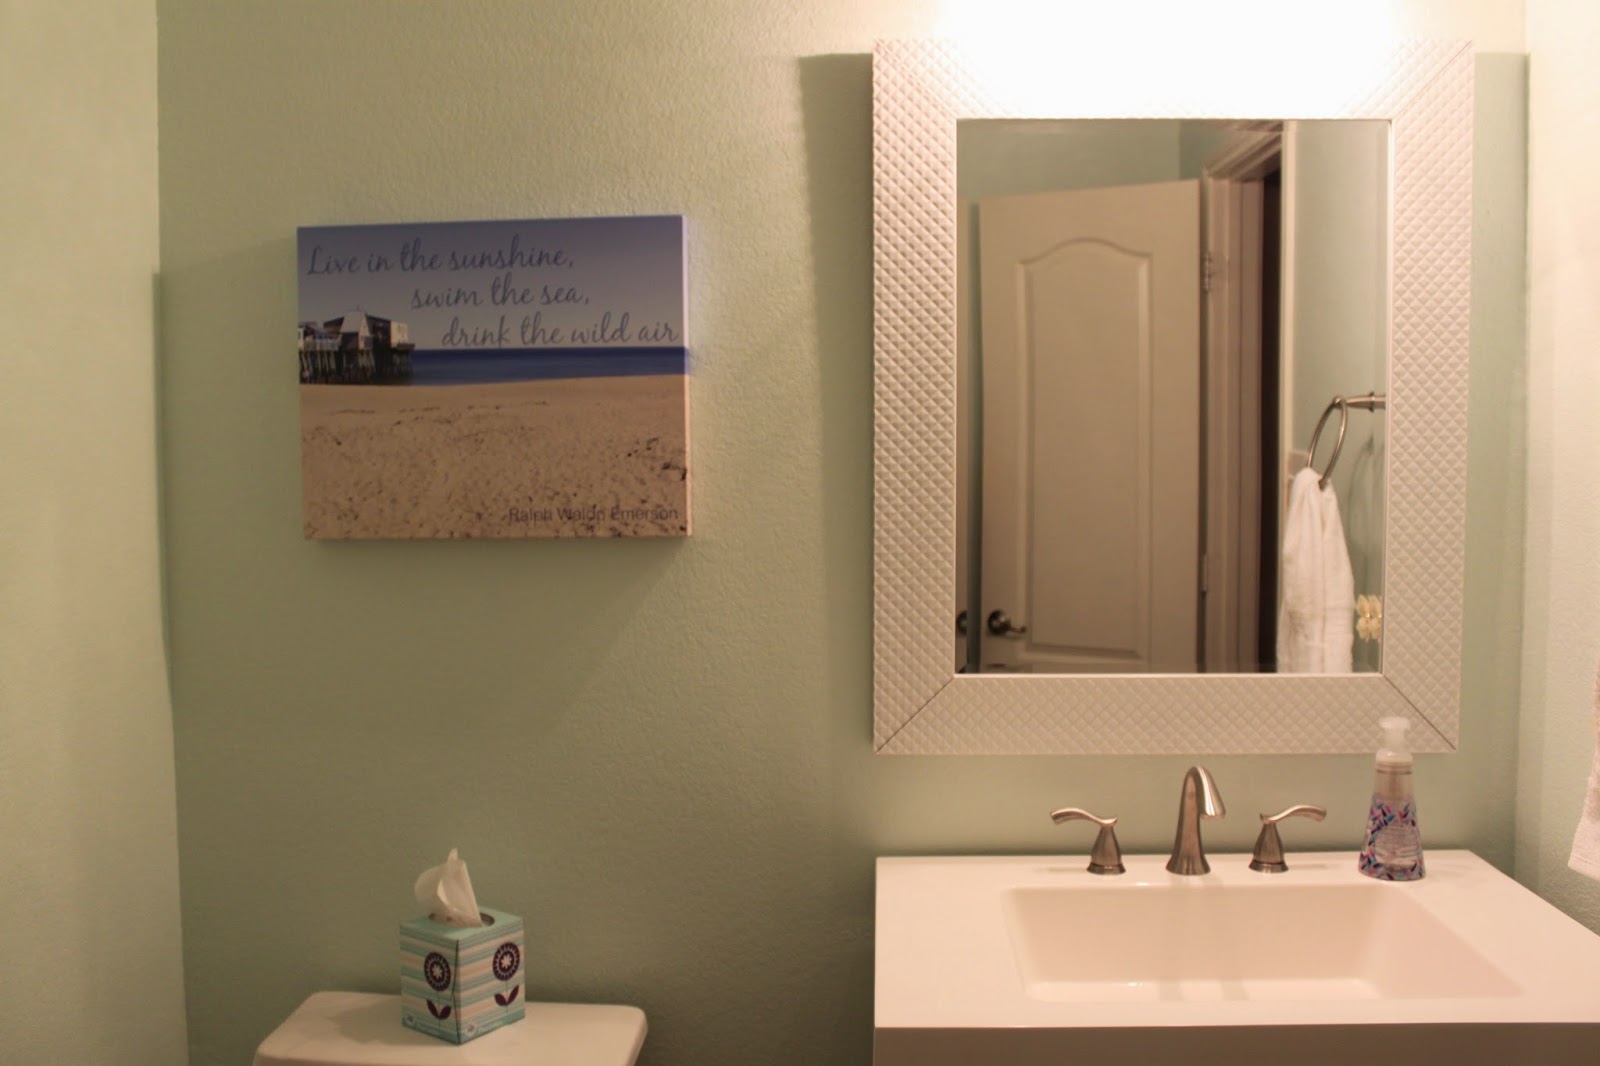
Before
(like way before)
(like way before)


After


We had the floors installed by the same company that installed our laminate and we LOVE them! We want to replace all the tile in our house with this wood looking luxury vinyl. It's easy to keep clean and there is NO GROUT! Hallelujah! We decided to re-paint the room (again). We really enjoyed the aqua but felt it didn't really match the look we were trying to go for.
We searched for vanities foreverrr and wavered between white and grey but ultimately fell in love with this one with the carrera marble top. The faucets were another obstacle. I wanted something that would mesh well with the light fixture but also look nice with the chrome vanity hardware. I really liked the look of the black matte and so happy we decided to branch out a bit. Justin installed the backsplash and is basically a pro now :)
I mentioned we had ordered pottery barn mirrors...well, I fell in love with the idea of pivot mirrors but did not love the price. (Side note: you see the outlet in the middle of the backsplash...we had to work around that unless we wanted to move electrical or lose an outlet...nope to both!) We decided to go for it and we would just be buried with the mirrors because I couldn't stomach the thought of the cost! haha. Well turns out we didn't measure correctly and there's no way we could center them over the sinks so they would just look goofy. It ended up working out because we got the money back for them and used the mirrors that came with the vanity and they look great!
Overall, we are loving all of the updates (and the taller vanity)...it feels like a completely different room :)
Bathroom Vanity & Mirrors - Home Depot
Faucets - Wayfair
Backsplash - Floor & Decor
Light Fixture - Texas Bright Ideas
Wall Paint - Sherwin Williams Requisite Gray
Shelf - Kirklands
Decorations - Hobby Lobby/Target/eWay Furniture
Floors - Vinyl Planks (Sendero-Passerine) installed by Flooring Warehouse
Bath mat - Kohls
Toothbrush Holder - Kohls
Hanging Baskets - IKEA