Showing posts with label DIY. Show all posts

Friday, July 29, 2016

Eli's Big Boy Adventure Room

We've been talking about moving Eli to his big boy room for quite a while now and a few weekends ago decided to bite the bullet and just do it. There were 2 main reasons we were wanting to move him rooms...1. His baby room is the hottest room in the house and homeboy is hot natured so these two things didn't mix well and 2. My desk was in the playroom meaning he wanted to touch all the things (we moved my desk into his old room along with the guest bed). The 3rd (and not main) reason I wanted to move him was because I was itching to get my designs out of my head and onto his walls...literally!

We have been dying to do a wood wall in our house somewhere and finally decided on Eli's room. We (for the rest of this paragraph when I say we I mean Justin) read LOTS of blogs on different ways to do this but we ended up going with self stick vinyl faux wood planks. In true Trojacek fashion we had a complete fail before we actually got this thing to work. One of the blogs suggested using an adhesive spray (even though the back of the tiles are sticky)...so Justin was about 1/3 of the way done with the wall and we took a frozen yogurt break...only to come home to some freaked out dogs and ALL of the planks on the floor. So poor Justin had to start over but this time used nails to stick them to the wall and that worked fabulously! We are so SO happy with the way it turned out and now want to put wood on walls all over the house! {I'm only slightly kidding}

So the wood wall also went very nicely with my outdoor adventure themed room that was stuck inside my head. We basically cleared out Hobby Lobby to make this happen. About 2 weeks after moving him to his new room he decided to climb out of a pack n play & his crib in the same day so that next morning Justin converted it into a toddler bed. Eventually we will get him a twin size bed but for now the toddler bed is working fantastically!

I was able to re-use some of the things from his nursery which made me happy (& nostalgic).  I think the adventure/little explorer theme fits with Eli's little {big} personality SO well! So here goes it!


This is one of my favorite things in his room. I saw this phrase on a large wooden sign online but knew I wanted something slightly different. I used 2TreeStudios on Etsy to create the vinyl and Sherry once again exceeded my expectations. She also sent a few extra decals...the buffalo that says Eli on his shelf...I almost died when I saw it...so stinking cute!! I bought the piece of wood at Hobby Lobby (and the small round one at target) and put the vinyl decals done and voila! 


His future twin size bedding

Hobby Lobby
Black & White Feather Picture
Both Wooden Arrows
Metal Bear Head
Brown Wooden Arrow Frame
TeePee Picture
Wood for Let Him Be Wild Picture
Explore with Paddles
Canoe
Chevron Garland
Little Explorer Sign
Arrow
Shelf
TeePee Shelf
Letters

Target
Paddle Hook
Bed Sheet
Future Comforter & Sheets
Tree Blanket
Side Table
Blackout Curtains


Wednesday, February 3, 2016

Guest Bathroom Refresh

It's been a while since we've done a "bigger" house project around here...about a year and a half to be exact. We kind of had our hands full last year with a newborn and figuring out how this parenting thing works but since we both had the week of Christmas off (for the first time ever!) we got the DIY bug and ended up focusing on our guest bathroom. We have been searching for new bathroom light fixtures since we moved into this house but couldn't find anything we liked in our price range. We had some time to kill up in Georgetown one day and landed in an awesome lighting store and found 2 new bathroom lights! That's when all the crazy ideas started haha! We tossed around all sorts of ideas - from a new counter-top -to new vanity - to new floors but ended up making less permanent (and less expensive) updates but still quite the transformation! This will be Eli's bathroom so we wanted to make it fun & whimsical and I looove how it turned out!


Justin got handy and installed this tile backsplash all by himself! I love it & am so proud of him!


I'm kind of obsessed with these animal towel hooks! I had been eyeing them at Target but had no where to put them until we got this project going :)


The light fixture that started it all...


Mirror - Kirklands
Super Lucky Picture - Hobby Lobby
White Frame - Hobby Lobby

Friday, February 13, 2015

Kitchen Renovation!

So let's talk real quick about our last major home project before Baby T arrives (meaning this project was done and this blog post was written before he arrived)! When we moved into this house (2 years ago - wow!) our least favorite room was the kitchen - but it also happened to be the biggest/most expensive project we wanted to tackle so we knew we had to live with it for a while. The cabinets were light oak which just aren't our style, the Corian counter tops were a blah shade of green/blue and scratched SO easily, the hardware on the drawers (no hardware on the doors) were not our style, the back splash is the same tile as our floor (which is not our taste), and the box lights seemed so outdated. 

Once we got pregnant we knew that the kitchen would have to wait - it was no longer a priority. Luckily things changed in our favor when we sold our other house and had some extra money to play around with so we decided to go ahead and remodel the kitchen! Looking back...I am SO so glad we did this before the baby came - it would have been a nightmare to go through that type of renovation with a baby in the house! The project ended up being a combo of DIY/contracted and we are so happy with the way it turned out!

Cabinets
We went back and forth on the cabinets for a while before finally making a decision. Our original plan was to stain the cabinets dark like we did in both of our bathrooms but after a lot of consideration we decided we really like the clean white look in the kitchen rather than the dark. Part of this probably has to do with our obsessive HGTV watching and that most of the kitchens these days have clean white cabinets and we are just drawn to that modern look. The next step was deciding if we were going to DIY or hire someone. Thank goodness Justin convinced me that the job was too big and we just needed to hire someone because it only took 3 days and they did a wonderful job! We picked the whitest white paint we could find and I was unsure how I would feel about the wood grain showing through but turns out I like it! I think it looks really good and you would never know that's not the color the cabinets were originally. We hired a company we found on Angie's List and their prep work was so meticulous which was great since we are kind of OCD. I ended up having to work from my parents house once they started with the paint because the fumes were so strong (we also had to sleep there a couple of nights because of the smell). This would have been no bueno with a baby! The total project took about 3 days.

Hardware
We used the same drawer pulls that we did in the bathroom and I love them! The cabinet handles from Ikea are just what I was picturing. Justin and my dad were able to knock out this project in 2 evenings!

Counter Tops
The next stage of our kitchen remodel was the counter tops. When we were going to do dark cabinets I had a white counter top picked out, but when we changed gears to white cabinets it was back to the drawing board on counters. We knew we wanted Silestone/quartz (rather than granite due to the ease of care) but other than that we weren't quite sure what we wanted. I finally decided on a grey color (shocker I know) but kept going back to this color Stellar Snow color wishing it wasn't white and that I didn't love it so much! One day while browsing at Home Depot we noticed one of their sample kitchens had white cabinets with stellar snow counter tops and it looked great! Apparently by itself stellar snow looks stark white but when you put it next to actual white it has a grey-ish color! Done deal! I was so excited to finally have a counter top picked out - especially since it was the one that I have been drooling over for 1+ years now :)

The week before our counter tops were being replaced the heat from our crock pot cracked our Corian counter top...what the heck?! The crock pot was on low and still did this - so glad we were getting rid of the counters or else I probably would have had a major pregnant hormonal breakdown!


The counters only took about 3 hours to demo/install the new ones...crazy fast!

Backsplash
Now if only our back splash installation could have been coordinated with our counter top install our kitchen wouldn't have been out of commission for almost 3 weeks. (We used Lowes for the counters and backsplash) We chose a marble herringbone grey/white pattern and I'm totally in love with it. After we had picked everything out for the kitchen we actually saw very similar kitchens (our counters and the exact backsplash) on HGTV - which probably explains why they have trouble keeping this backsplash in stock. This part of the project turned into a semi disaster...we didn't have enough material because the guy who measured completely forgot to measure the island, scheduling issues with the company, and Justin breaking his arm in the middle of this install. Oh yeah - and my high blood pressure scare....talk about a crazy week! Luckily the end product is just what we were hoping it would be and now all that stress/drama is behind us.

Lighting
We had box lights in our kitchen and they just seemed pretty outdated (even though the house is only 7 years old). Justin and my dad ripped the lights down and installed recessed lights throughout the kitchen. It has made such a difference in the look/feel of our kitchen. We hired a drywall guy from Angies List to fix the texturing (from where the boxes were) and the extra hole in the ceiling (oops) and you would never know these lights weren't there the whole time! 

Paint
It's very subtle but we (by we I mean my dad since Justin's arm was broken and I was massively pregnant) painted the kitchen anew grey (Sherwin Williams) - I know how shocking it is that we chose grey. I think it's hard to see in the pictures since I did these without a lot of natural light but we painted the island bar area with a darker grey called Cathedral Stone (Valspar).

Before

During


After


Friday, August 15, 2014

Powder Room Refresh

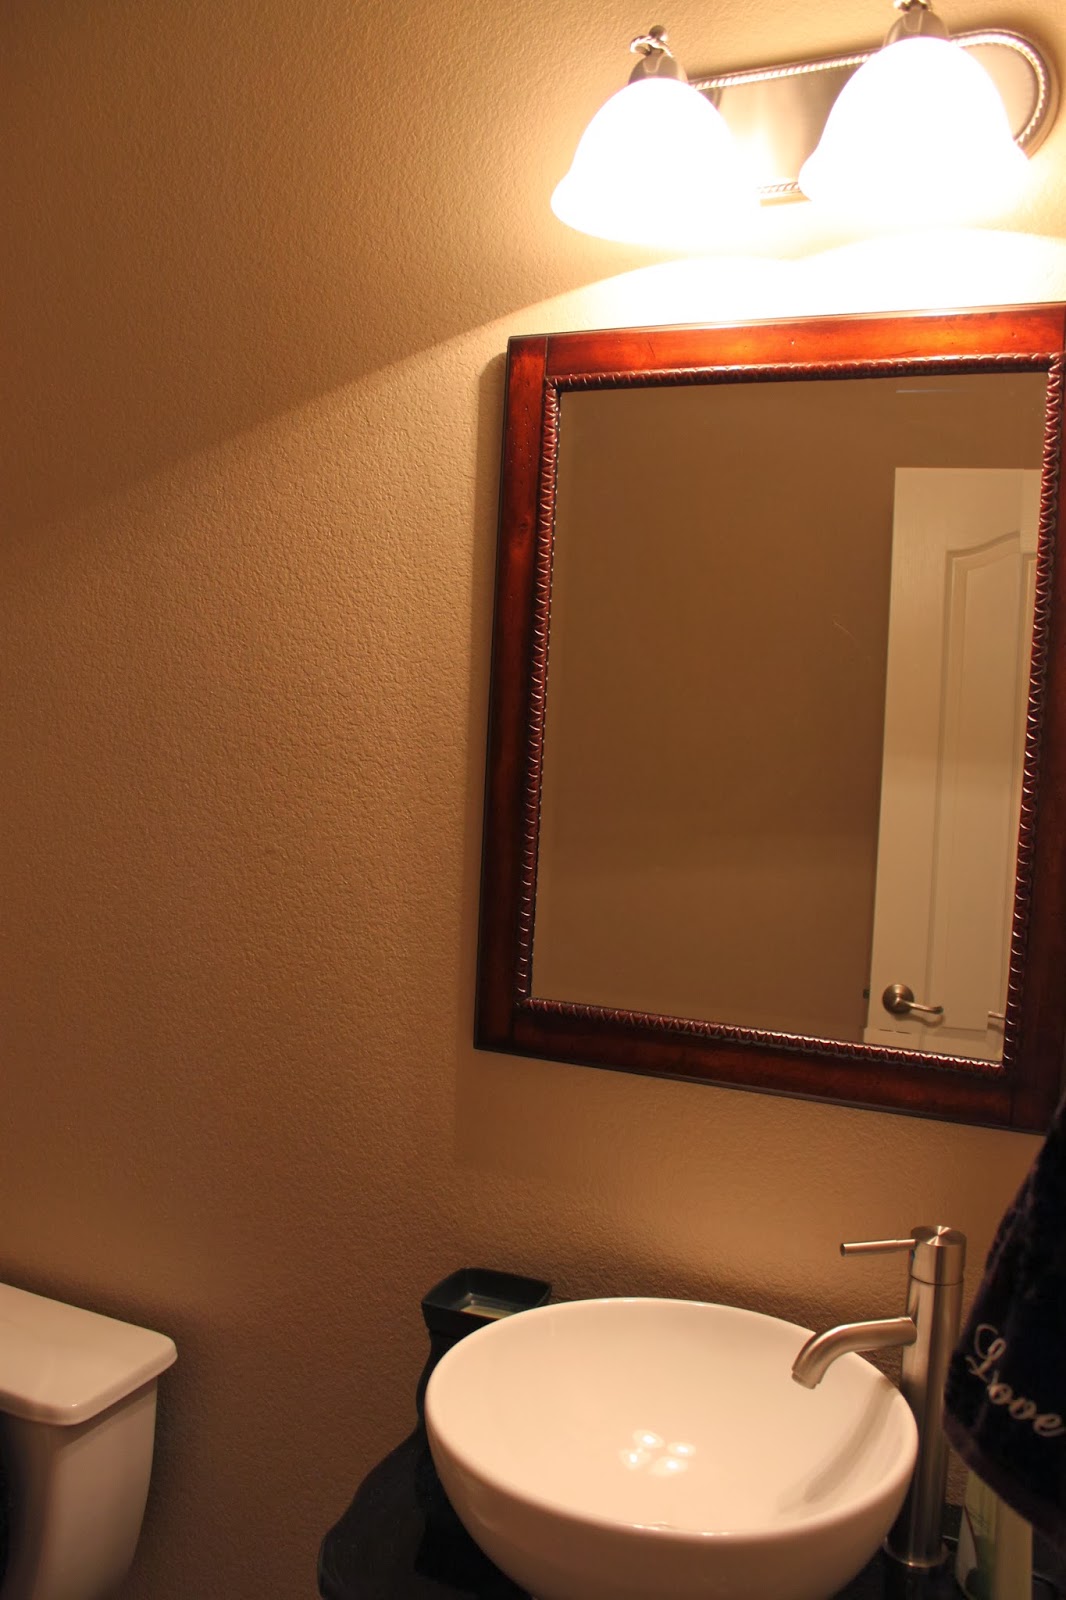
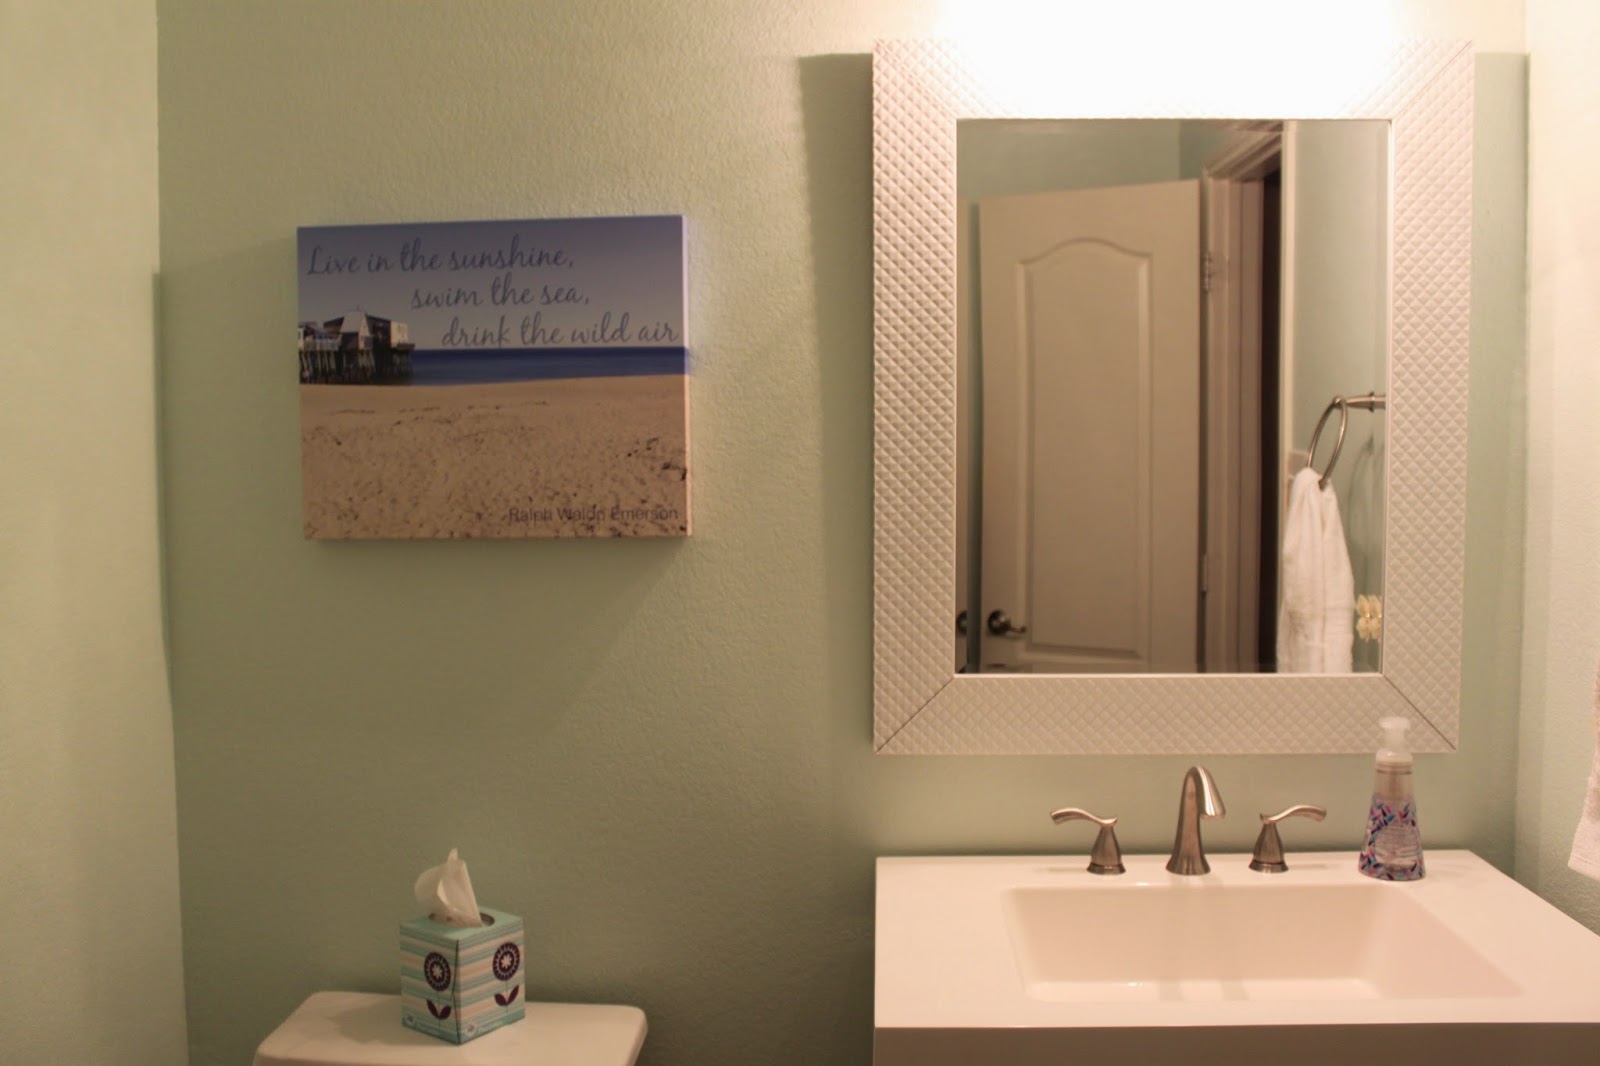
We have a fairly large powder room in our house and it was kind of one of the last things on my house to-do list until recently. We have been slooowly making updates to the room but I was finally able to finish decorating this weekend! Woohoo! We started out by painting - then changed the mirror and light fixture and thought we were going to be done there. Well, the problem with the vanity that the previous buyers installed was the sink spout was so close to the sink it was really hard to wash your hands. This wouldn't have been that big of a deal but this is the bathroom next to the nursery and we knew there would be A LOT of hand-washing going on in there so we set out on a search for a new faucet. Once we realized what a new faucet (that we actually liked) was going to cost us we decided we would be better off just getting a new vanity since the one in there wasn't our style anyways.

Before


Original wall color
We ended up going with a beachy theme for the bathroom which is so different from the rest of the house but I love it! And if you can believe it - the walls aren't grey!!

After